If you are wondering how to start an online store in India, you are not alone. Shop owners in Khatima, boutique owners in Dehradun, pickle makers in Haldwani and handicraft sellers everywhere are asking the same question. The good news is that the tools have become simpler and cheaper. The hard part is not the technology. It is making the right decisions in the right order.
This guide gives you that order. Follow the steps one by one, tick them off, and you will avoid the mistakes that make many first-time sellers give up within a few months.
How to Start an Online Store in India: The Quick Overview
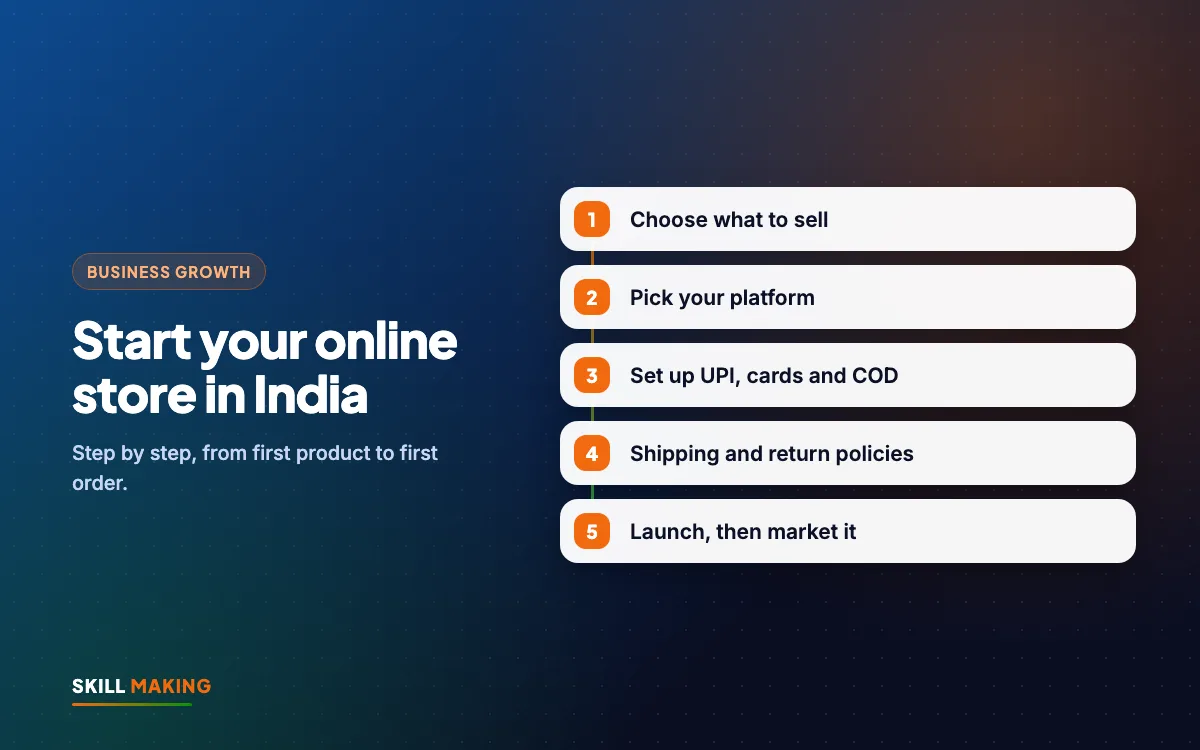
Here is the whole journey in one list. We explain each step in detail below.
- Choose what to sell and who will buy it.
- Check your costs and decide your prices.
- Sort out business basics: bank account, GST and paperwork.
- Choose your platform.
- Set up payments, including UPI and COD.
- Choose a shipping partner.
- Write your policies: shipping, returns and refunds.
- Take good product photos and write clear descriptions.
- Test everything with real orders.
- Launch and start marketing.
Most small businesses can complete these steps in a few weeks if they stay focused.
Step 1: Choose What to Sell
The first decision in how to start an online store in India is simple: start with products you already know. If you run a saree shop, sell sarees. If your family makes pahadi spices, sell those. Knowledge of the product helps you answer questions, write better descriptions and handle complaints.
Ask yourself these questions before you finalise anything:
- Is it easy to ship? Light, unbreakable items are much simpler than glass, furniture or fresh food.
- Does it have a clear buyer? "Everyone" is not a buyer. "Working mothers who want healthy snacks for school tiffins" is.
- Can you make a profit after shipping, packaging, payment fees and returns? We cover this in the next step.
- Is there something special about it? Local, handmade, organic, a family recipe, a unique design. A reason to buy from you and not a huge marketplace.
- Can you keep it in stock? Running out a week after launch frustrates customers.
Start small. Ten to thirty good products are better than two hundred half-finished listings.
Step 2: Work Out Your Costs and Prices
Many new sellers price products the same as their shop counter and then lose money online. Online selling has extra costs. List every one:
- Product cost or making cost.
- Packaging: boxes, bubble wrap, tape, labels.
- Shipping charges, which depend on weight, size and distance.
- Payment gateway fees on each online payment.
- COD charges and the cost of COD orders that are refused at the door.
- Returns and damaged parcels.
- Marketing and ads.
- GST, where it applies.
Add these up for one typical order. Your selling price must cover all of them and still leave a profit. If it does not, consider a minimum order value, free shipping only above a certain amount, or bundles such as a pack of three.
Step 3: Business Basics, GST and Paperwork
When people ask us how to start an online store in India, they are often surprised that you do not need a big company. But you do need some basics in place.
- A current bank account in the business name, so payments are clean and easy to track.
- GST registration. Rules for online sellers can be different from offline shops, especially if you sell to other states or through marketplaces. Please check with your CA before launch, because they can advise based on your products, turnover and where you ship.
- PAN and identity documents for the business, which payment gateways and shipping partners usually ask for.
- Trade or food licences if your product needs them. For example, food products usually need FSSAI registration. Again, your CA or a consultant can confirm what applies to you.
- A business email address on your own domain, which looks more professional than a free email ID.
This step feels boring, but it avoids payment gateway rejections and problems later.
Step 4: Choose Your Platform
This is the decision most people worry about. There are three common routes. Each has a place.
Shopify
A hosted platform with a monthly subscription. Hosting, security and updates are handled for you. It is easy to manage products and orders from a phone app, and there are many themes and apps. The trade-off is a recurring fee and extra cost for some apps.
WooCommerce
A free shop plugin for WordPress. You pay for hosting and any paid plugins. It is very flexible and works well if you also want a strong blog or content site. It needs a little more care: updates, backups and security are your responsibility, or your developer's.
Custom-built store
Built from scratch for special needs, such as complex pricing, wholesale and retail in one, or unusual workflows. It costs more and takes longer, so most small sellers should start with Shopify or WooCommerce.
Our detailed comparison, WordPress vs Shopify vs custom website, explains which suits which kind of business.
What about selling only on marketplaces? Marketplaces can bring buyers, but you follow their rules, pay their commissions and do not own the customer relationship. Many sellers use both: a marketplace for reach and their own store for repeat customers and better margins.
Step 5: Payments, UPI and Cash on Delivery
Indian customers expect choice at checkout. Your store should accept:
- UPI, which most buyers now use daily.
- Debit and credit cards.
- Net banking and popular wallets.
- Cash on delivery (COD), still important in many towns.
To accept online payments, you connect a payment gateway. Well-known options in India include Razorpay, PhonePe's payment gateway and Cashfree. They generally offer UPI, cards and net banking in one checkout, charge a fee per transaction and settle money into your bank account after a short period. Compare their current fees, settlement time and onboarding documents before choosing.
Making COD work without losing money
COD brings orders, but some customers refuse the parcel at the door, and you pay shipping both ways. To reduce the risk:
- Confirm every COD order on WhatsApp or a phone call before shipping.
- Offer a small discount or free shipping for prepaid orders.
- Add a small COD fee if your margins are thin.
- Limit COD to certain pin codes or order values if refusals keep happening.
Step 6: Shipping Partners and Packaging
Unless you only deliver locally, you need a courier. Shipping aggregators such as Shiprocket connect you to several courier companies through one dashboard. You can compare rates, print labels, book pickups, collect COD and track parcels in one place. Many also plug directly into Shopify and WooCommerce, so orders flow in automatically.
Things to decide:
- Which pin codes you will serve at launch. You can start with your state and expand.
- Shipping charges: free, flat rate, or based on weight.
- Packaging that protects the product and looks neat. A simple thank-you card inside costs little and is remembered.
- Dispatch time. Promise only what you can deliver, such as "ships in 1 to 2 working days".
For local orders, you can also offer own delivery or store pickup, which customers in smaller towns often like.
Step 7: Return, Refund and Shipping Policies
Clear policies build trust and are usually required by payment gateways before they approve your account. Every store needs:
- Shipping policy: where you ship, charges and delivery times.
- Return and refund policy: which items can be returned, within how many days, in what condition, and how refunds are paid.
- Cancellation policy: until when an order can be cancelled.
- Privacy policy and terms of service.
- Contact details: phone, WhatsApp, email and business address.
Write them in simple language. "Unused items can be returned within 7 days of delivery" is better than a page of legal jargon. Be fair but protect yourself, for example by not accepting returns on food or personalised items.
Step 8: Product Photos and Descriptions
Online, your photos are your shop window. Customers cannot touch the fabric or smell the spices, so the pictures must do that job.
- Use natural light near a window, or a simple light box.
- Use a plain background for main photos, and lifestyle photos to show the product in use.
- Take several angles, plus close-ups of texture, stitching or labels.
- Show size, for example a hand holding the jar, or the kurta on a model.
- Keep the same style across all products so the store looks professional.
- Compress images before uploading so pages load quickly. A slow store loses buyers; see our guide to website speed.
For descriptions, answer the questions customers would ask in a shop: size, material, weight, ingredients, care instructions, delivery time and what is in the box. Use short bullet points. Mention words people actually search for, which also helps your store appear on Google. Our post on how to write website content has more tips.
Step 9: Test Before You Launch
Never launch without testing. Place real orders yourself and ask two or three friends to do the same:
- Order with UPI, card and COD.
- Check the confirmation email and the WhatsApp or SMS updates.
- Check that the GST invoice looks correct.
- Book a shipment and track it.
- Test a cancellation and a refund.
- Open the store on a cheap Android phone with mobile data, since many of your buyers will.
Fix anything that feels confusing. Every extra step at checkout loses some buyers.
Step 10: Marketing Your Store After Launch
A new store is like a new shop on an empty street. Learning how to start an online store in India is only half the work; the other half is bringing buyers. You need to bring people to it. Here is how growth usually builds over the first months when you keep at it:
Illustration only, not a promise. Real results depend on your town, competition, offer and how quickly you reply to enquiries.
Start with the channels that cost little:
- Existing customers. Tell everyone who buys from your shop. Put a QR code at the counter.
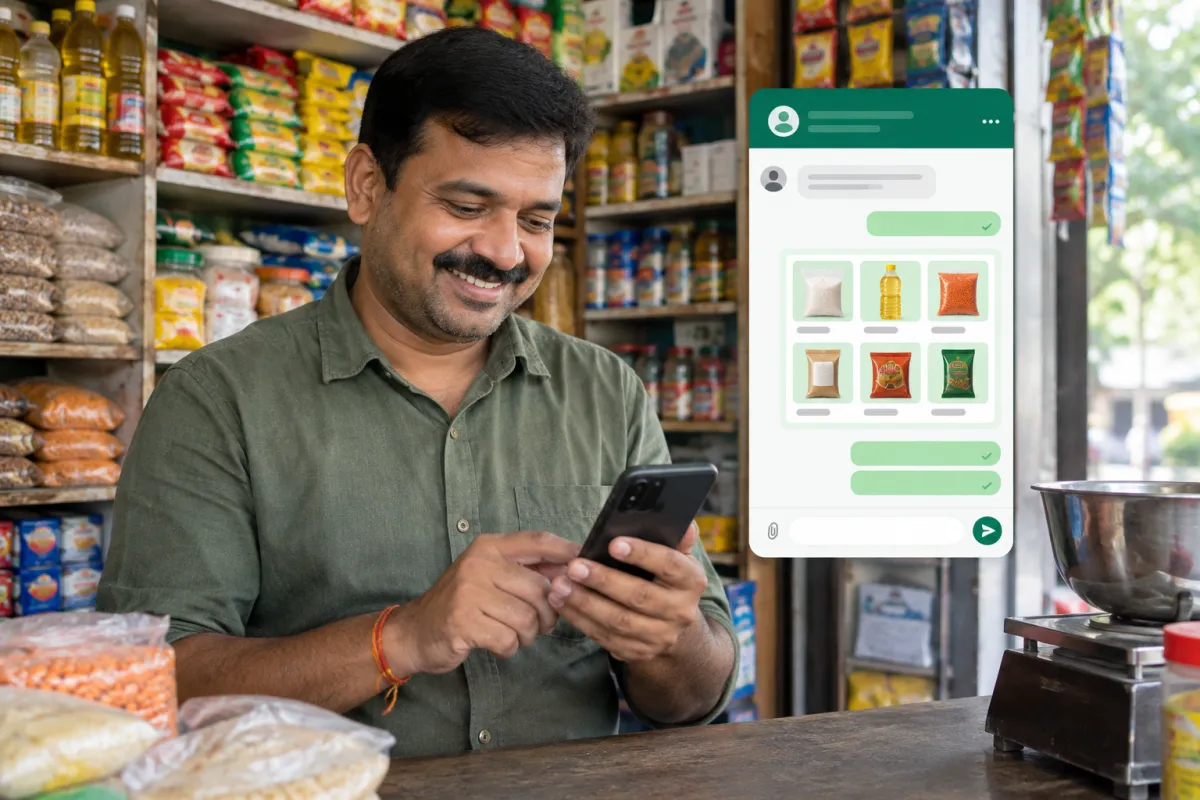
- WhatsApp Business. Share new arrivals with a catalogue and broadcast lists. See WhatsApp Business for small businesses.
- Instagram and Facebook. Reels showing how products are made or used work well. Our social media service can help you stay consistent.
- Google. Set up your Google Business Profile and basic SEO for your product pages.
- Email. Collect emails at checkout and send offers and new arrivals; see email marketing.
Once you know which products sell and your margins are clear, test small paid campaigns with Facebook and Instagram ads or Google Ads. Increase the budget only for ads that bring profitable orders.
Costs: How to Start an Online Store in India on a Budget
You can start lean and grow. Typical costs include:
- Domain and hosting or platform subscription, which we always buy in your own name.
- Payment gateway fees per transaction.
- Shipping and packaging per order.
- Store design and setup, done once.
- Marketing, which you control.
Our Online Store package is ₹49,999 (one-time, plus GST). It includes a Shopify or WooCommerce store with up to 50 products, UPI, cards and COD, shipping setup, GST invoices and order emails, a training video so you can manage it yourself, and 3 months of support. Online stores usually go live in about 3 to 5 weeks. See all packages or our pricing page.
Wondering whether it pays back? This calculator shows how many extra orders it takes to cover the cost:
pays for the whole website
After that, every customer the website brings is extra income — month after month.
One-time website price; domain and hosting are about ₹2,500–₹6,000 a year extra.
Not ready for a full store yet? Some businesses start with our Starter or Business website and a WhatsApp catalogue, then upgrade. Our website design cost guide explains the options.
If you would like a clear plan for your products and budget, we can help.
Mistakes First-Time Online Sellers Make
Even when sellers know how to start an online store in India, a few avoidable mistakes slow them down:
- Launching with hundreds of products and poor photos.
- Pricing without counting shipping, gateway fees and returns.
- Allowing COD with no confirmation call.
- Copying policies from another site that do not match how you work.
- Skipping GST advice and facing trouble later.
- Expecting orders without any marketing.
- Ignoring customer messages for a day or two.
What to Do Next
Take a notebook and write down your first ten products, their full cost and your selling price. That one exercise tells you whether your online store will make money.
When you are ready, get a free website plan and we will suggest the right platform and setup for your products. Already have a store that is not selling? Ask for a free audit and we will tell you what to fix first.